Set Up a Patient
You must set up each patient in order for them to use their smart packages successfully.
There are several ways to set up a patient that depend on your project workflow. No matter the workflow, the following two steps must be performed:
- Create patient - jump to instructions ↓
- Initialize packages - jump to instructions ↓
Tip: In clinical research projects, the CertiScan support team usually prepopulates the patients. In other words, we create the patients ahead of time, meaning that you only need to initialize packages.
The following step may or may not be requried (depends on your project):
- Set up patient app - jump to instructions ↓
Finally, the following step is recommended but not strictly required:
- Set up regimen - jump to instructions ↓
Required Steps
Create Patient
If we have already prepopulated your patients, you can skip to the next step (Initialize Packages - jump to instructions ↓).
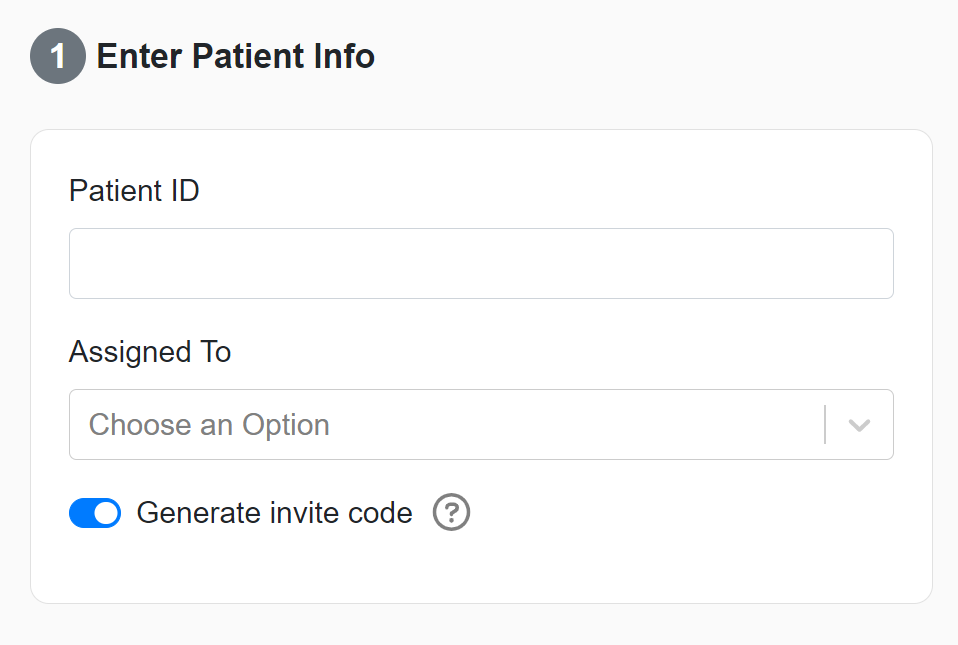
Go to the “Patients” page and click the “Add Patient” button.
Enter the “Patient Info”: Patient ID, "Assigned To" site, and if the patient needs access to the mobile app, leave the invite code setting “On”, otherwise toggle it “Off”.
Initialize Packages
Make sure you choose the correct option for your project.
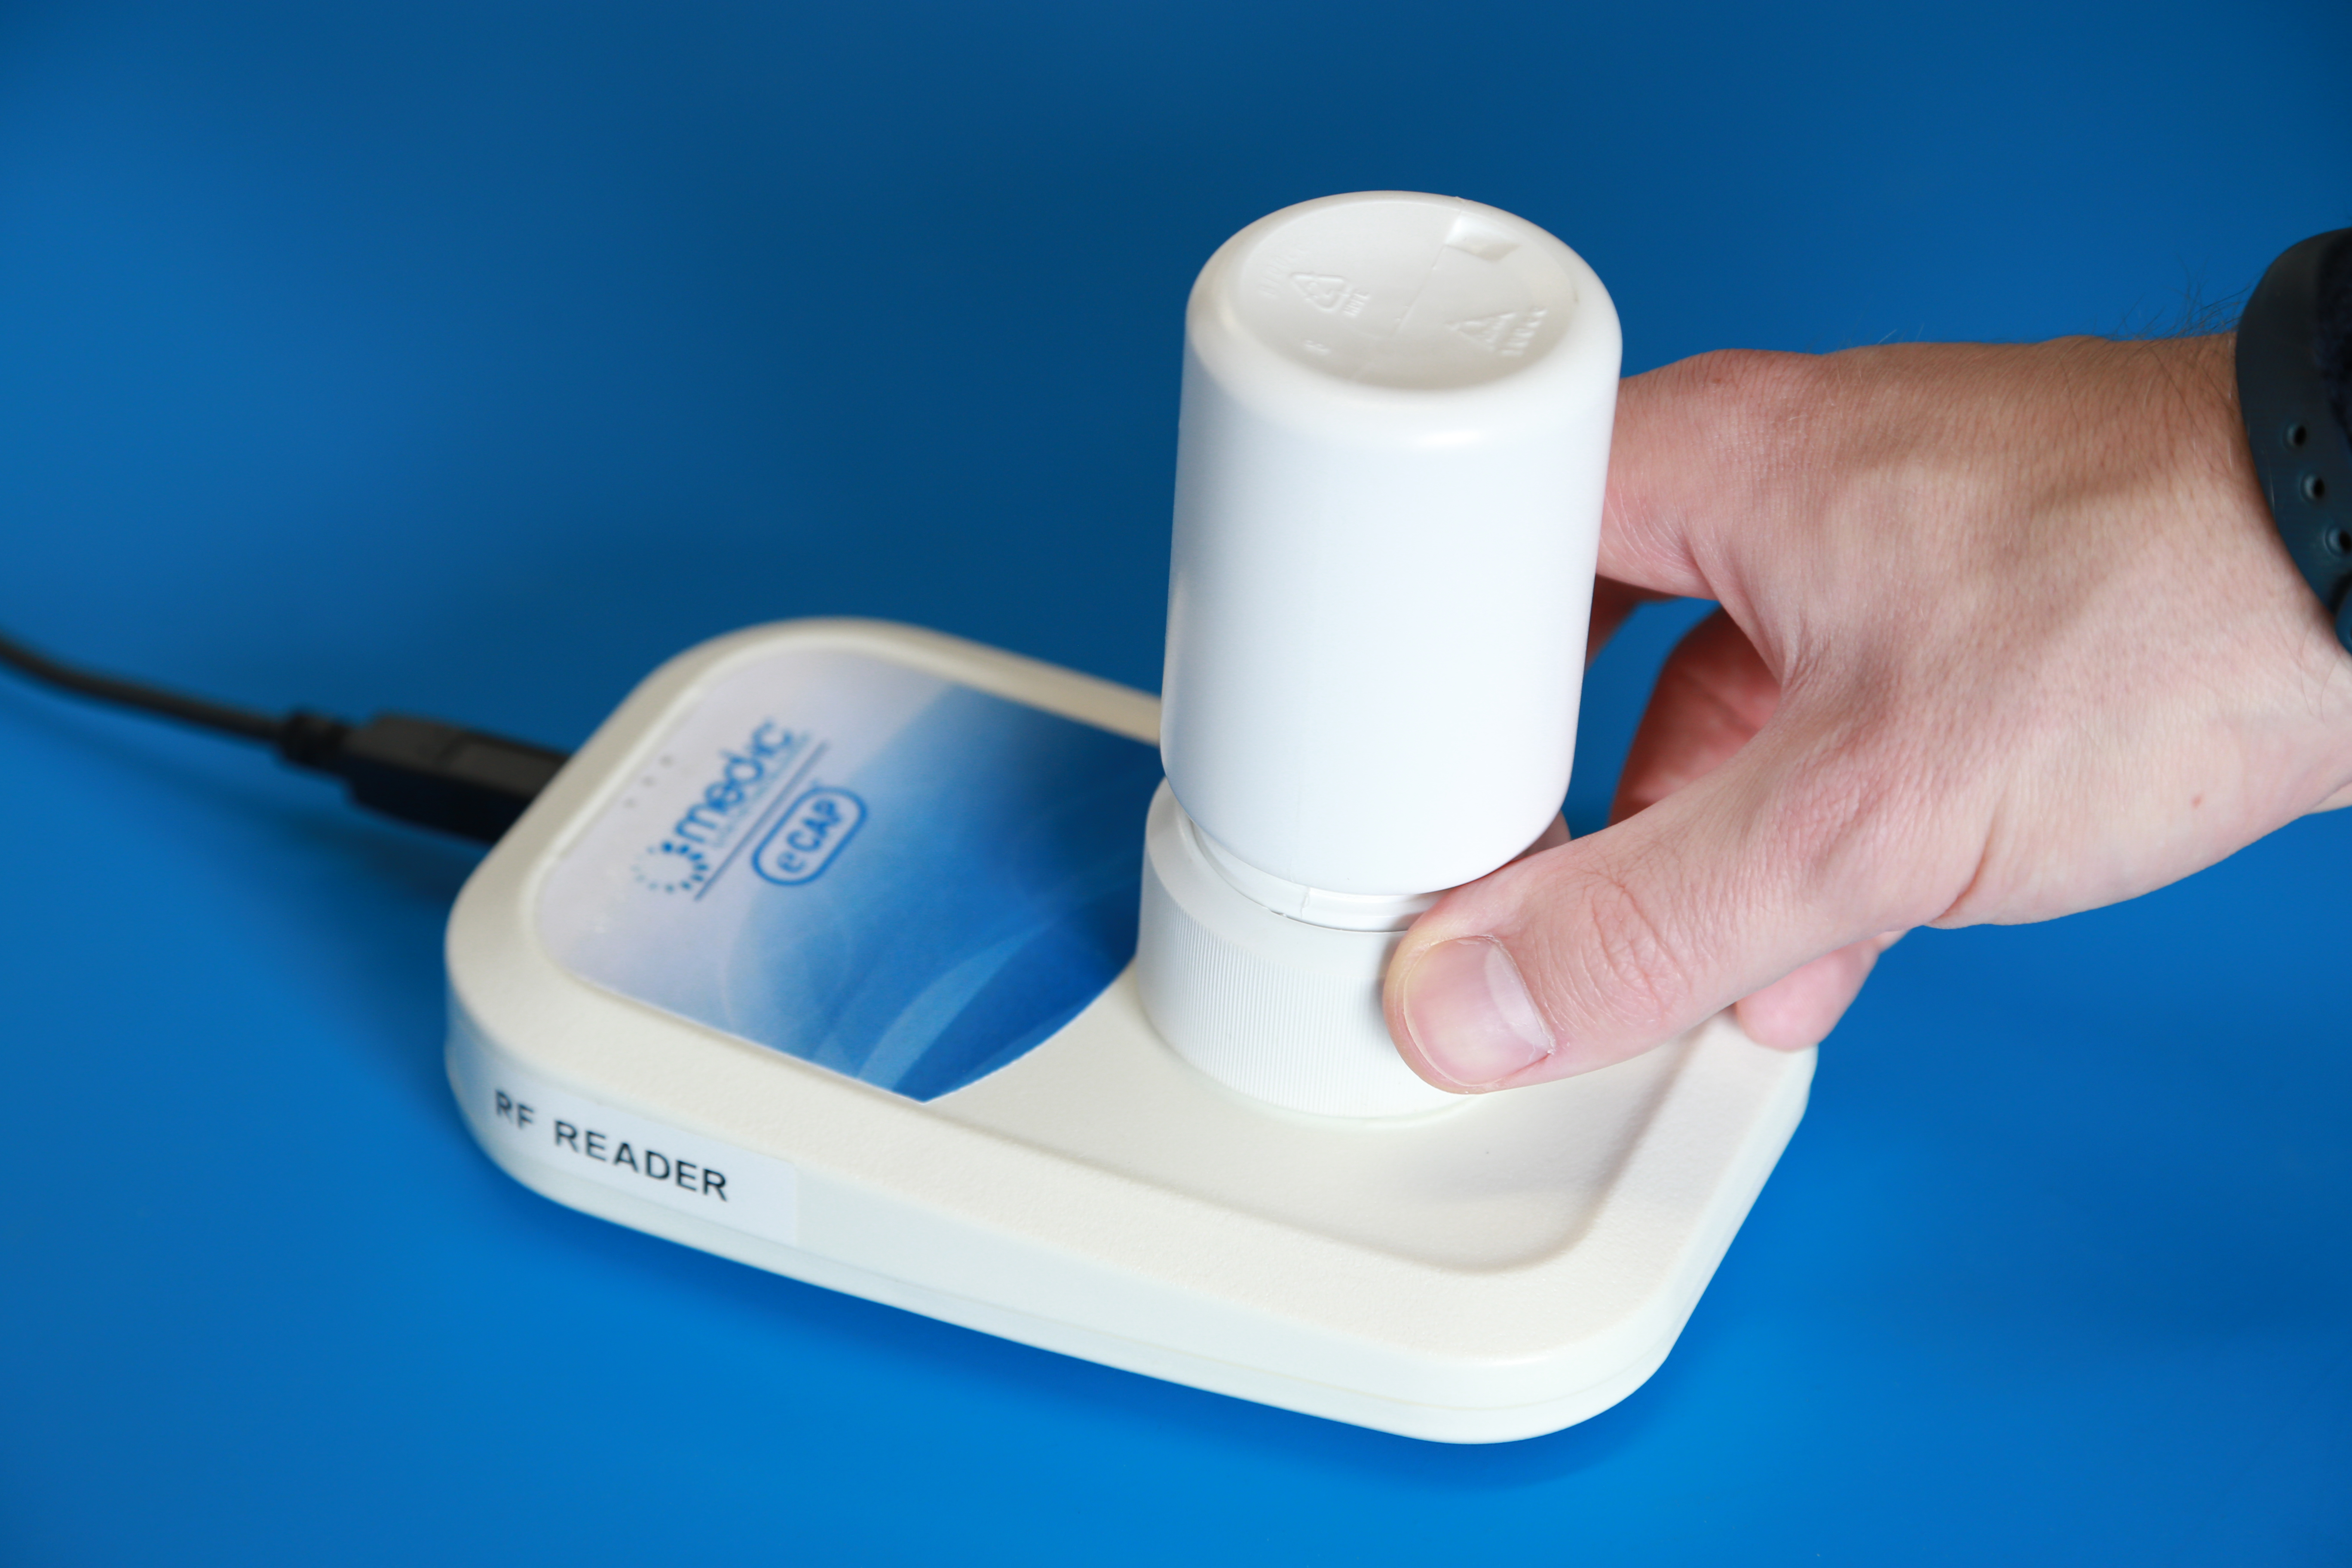
Using the CertiScan Reader
- Place package against reader scan symbol.
- eCAP: place top-down.
- Med-ic: bring printed symbol on cardboard into contact with reader scan symbol.
- Chirping or beeping noise indicates reader communication.
- Follow the on-screen instructions.
Using the Barcode Scanner
- Click the "Scan Label" button in the top navigation bar.
- Follow the on-screen instructions.
Other Steps
Set Up Patient App
If your project is using Express Scan or if your project does not involve remote patient monitoring, you can skip this section.
If the patient needs to access the mobile app, they must have an invite code.
- Go to the “Patients” page.
- Find the patient who needs remote access, and click the invite to reveal a printable 1-page instruction sheet for the patient.
- Communicate the invite details to the patient (either the code alone or the whole page).
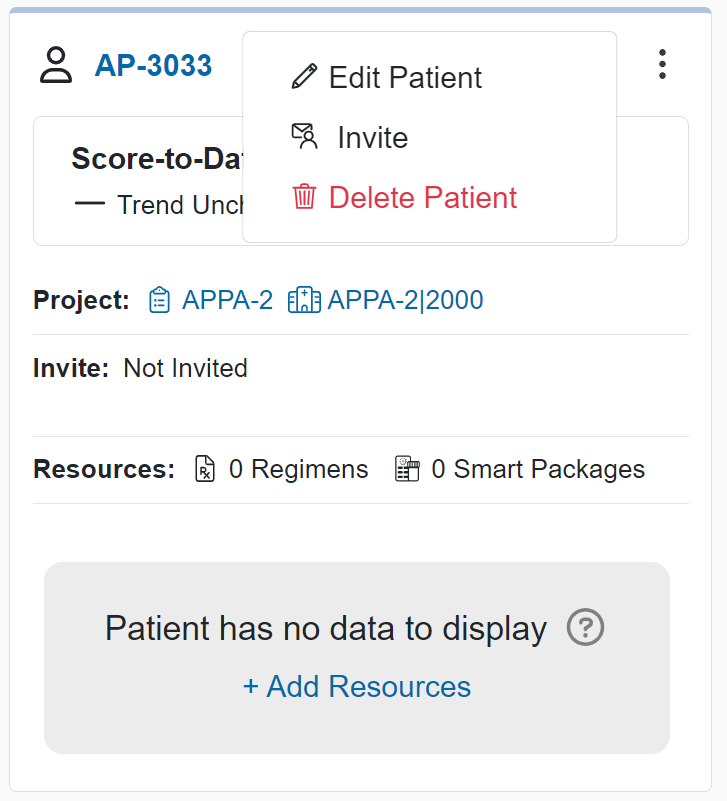
If the invite has expired or was never set up to begin with:
Search for the patient you need to set up.
Click the ellipsis (⋮) in the top right of the patient card and then "Invite" the patient.
Set up Regimen
Regimens add various labels and color layers to the data visualizations. This helps to make adherence more apparent, for the sake of interpretation and coaching.
Search for the patient you need to set up. Drill in to view the patient details page.
Then, click the “+Add Resources” button.
- Select a template.
- Rename the regimen if needed.
- Set regimen dates to match the duration of treatment.
- Start date should be when the patient must take their first dose. By default the start date will auto-fill to the current date.
- Stop date should be the final day of the patient’s treatment. Depending on your project configuration, the stop date may auto-fill to a certain date based on a default regimen duration - otherwise you should set the stop date manually.
- The “Advanced” toggle lets you fine-tune the schedule, but we generally recommend leaving the templated schedule as-is.