Scan a Returned Smart Package
You should scan each returned Med-ic or eCAP to ensure adherence data is synced. Scanning multiple times DOES NOT affect the adherence data.
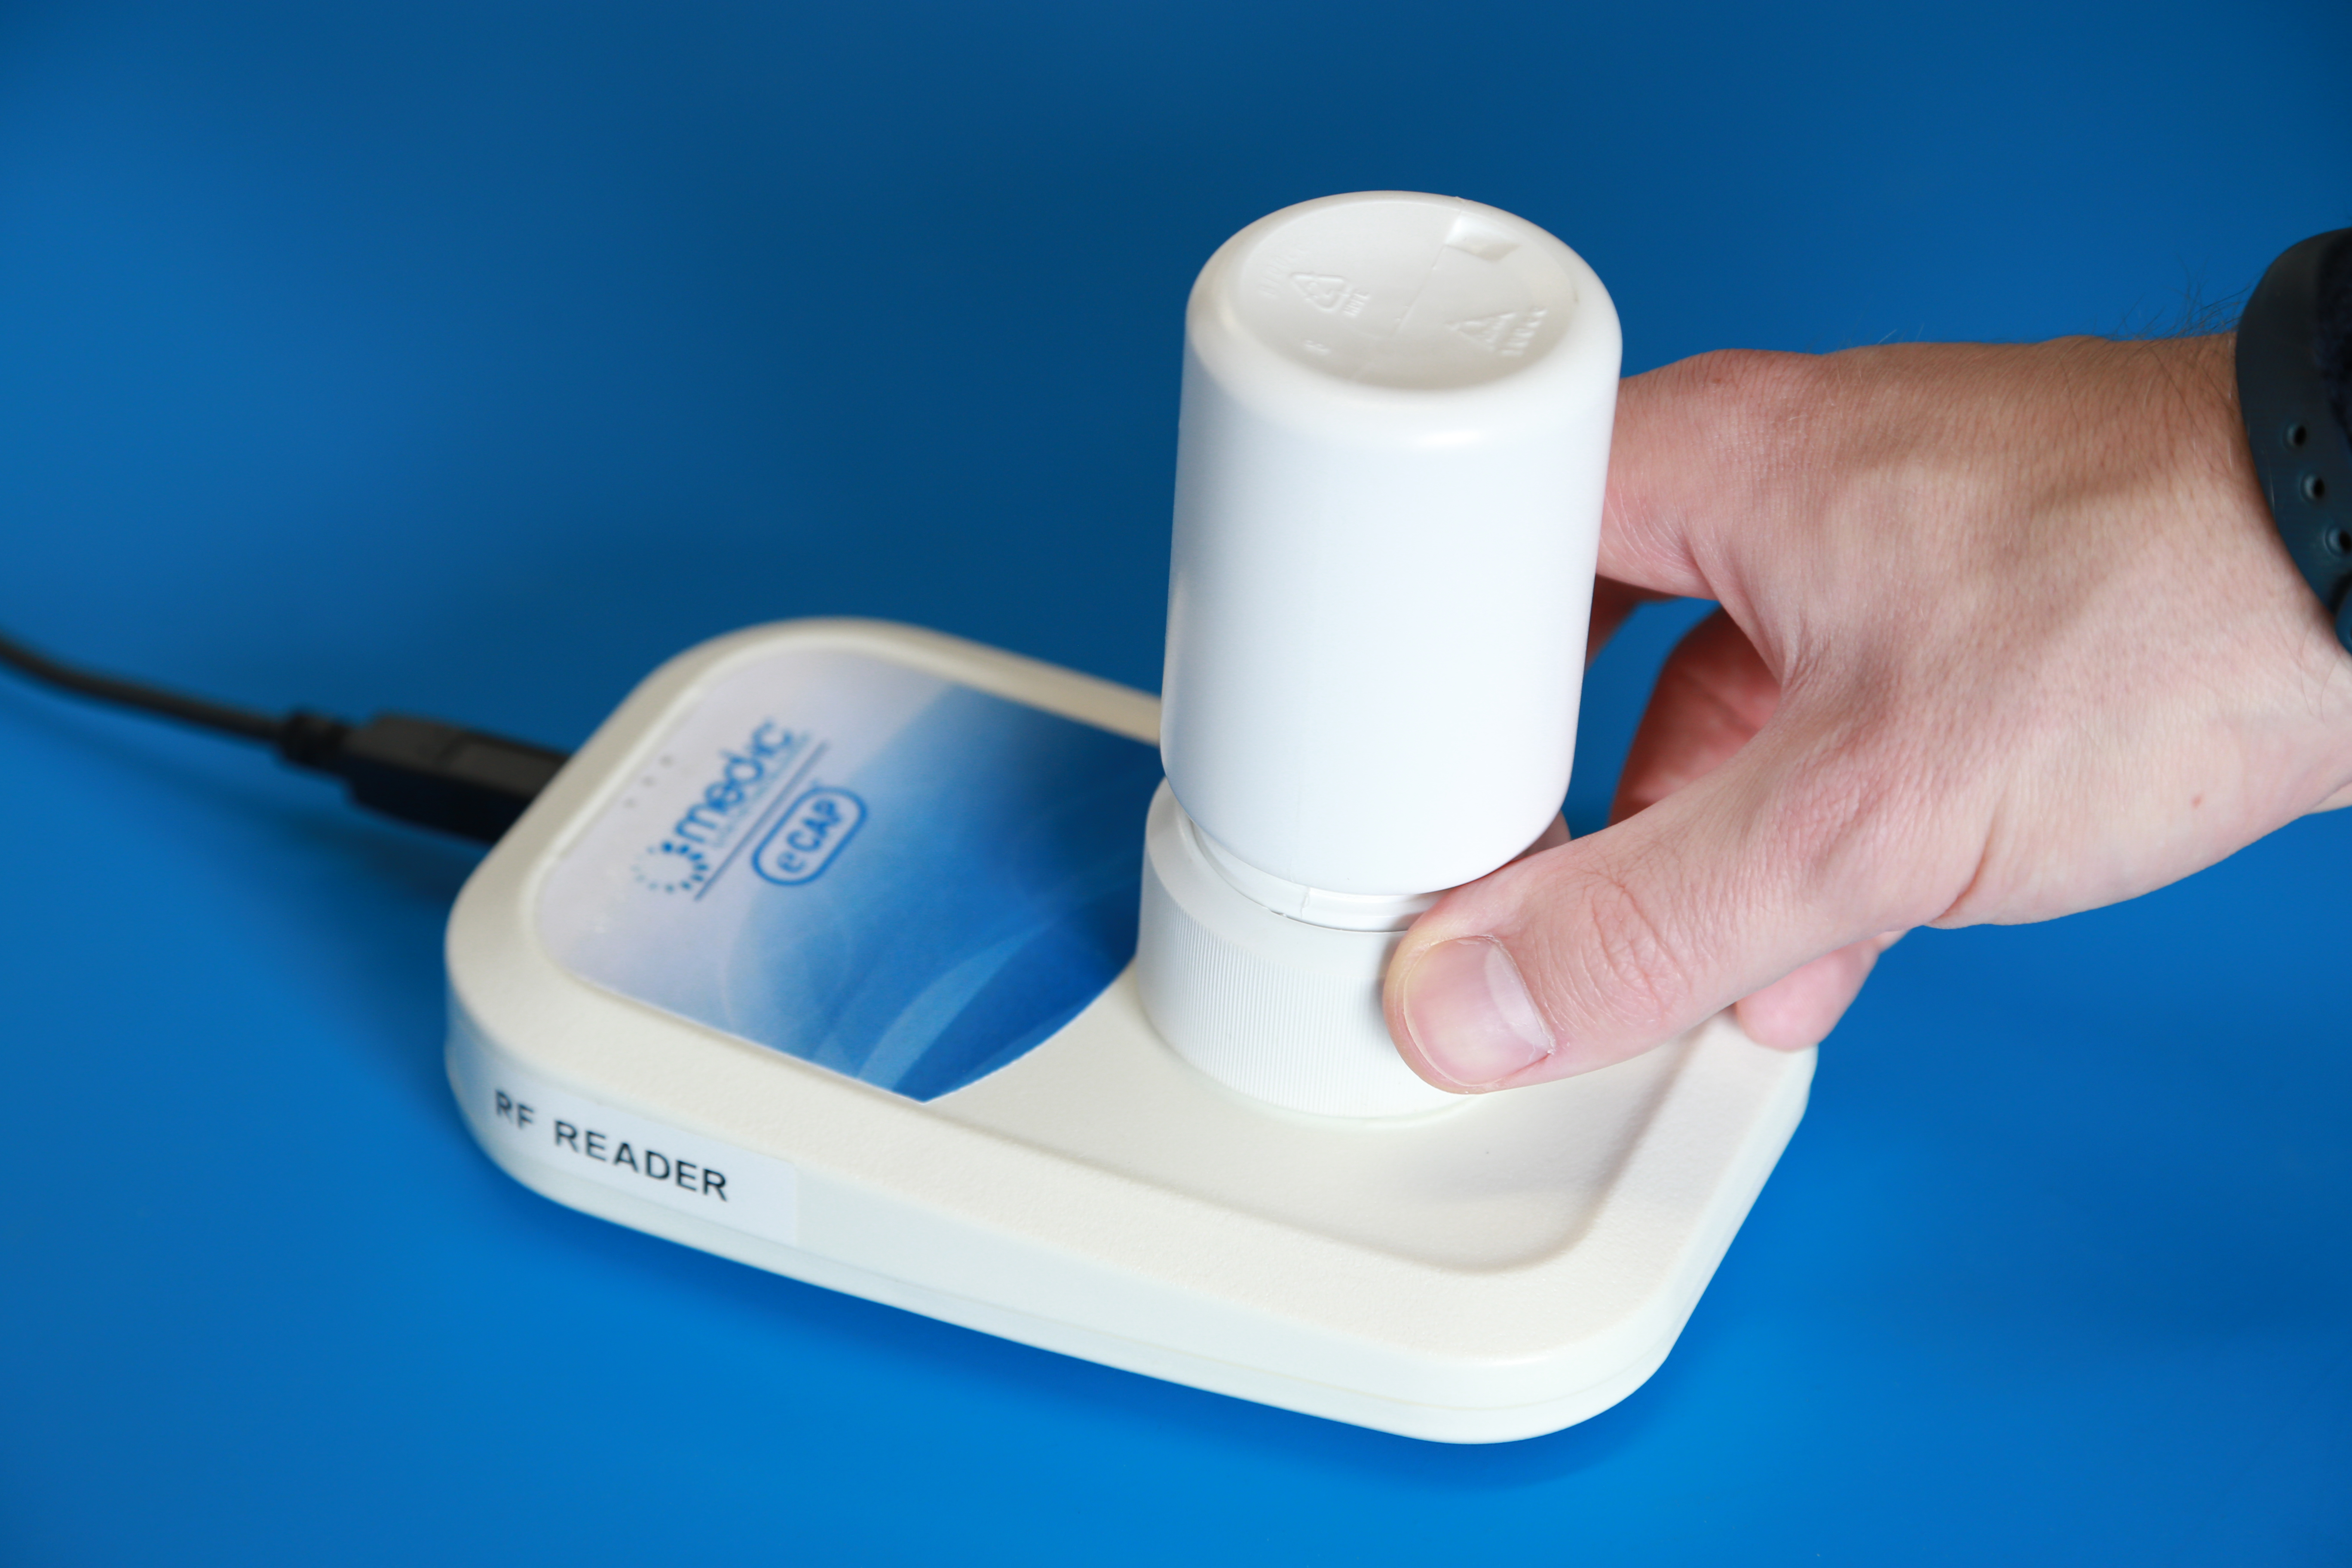
Using the CertiScan Reader
- With the web portal in the foreground, simply place eCAP top-down against the reader scan symbol (for Med-ic, there will be a printed symbol on the cardboard indicating where to scan).
- Chirping noise indicates reader communication, and an on-screen pop-up will appear.
- You will automatically be redirected to the patient details page.
If the smart package is not assigned to a patient:
- The “Assign” pop-up will appear.
- Select the correct patient ID to assign the smart package.
- Click the “Assign” button.
Future scans will go directly to the patient’s profile, and you won’t see this pop-up again.
AVOID METAL SURFACES
The reader does not work on metal surfaces (tables, etc.). If the reader status is green but your packages do not scan, this may be the culprit. Consider putting a book or stack of papers below your reader to elevate it away from the metal.
Using Express Scan
- Perform an Express Scan of the patient's returned package(s) according to the Express Scan Instructions.
- Perform Express Scans of all packages until all the patient data is uploaded.
- Find the patient in the Patients list and drill in to view their adherence data.
If you don't see the adherence data that you expect:
- Refresh the web portal - Express Scan may still be synchronizing in the background.
- Check the list of "Packages" assigned to the patient. The smart package you scanned may not yet be assigned to the patient.
If the smart package is not assigned to a patient:
- You must assign the package to the patient.
- Follow the steps described in: Initializing Smart Packages.
If your project began before June 2025, your packages do not support Express Scanning.
If this applies to you, please use the CertiScan reader to scan returned smart packages.