Reader-Based Workflow
Preparation
Make sure you have read and understood the preceding page:
Make sure you have set up your CertiScan account as described on the page:
Now, complete your preparation by setting up the CertiScan reader.
Install CertiScan Connect
CertiScan Connect is a program that runs in the background on your computer and lets the web portal and CertiScan reader connect with each other.
First, download the installer:
Double click the installation file and go through the wizard, accepting all conditions and clicking “Next" or "Accept” until finished.
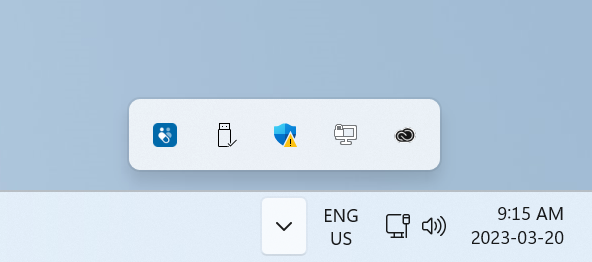
To verify installation, click the system tray arrow in the lower right corner of your Taskbar. Among the other system icons, you should also see a blue square with the CertiScan logo.
Plug in the CertiScan Reader
Connect to your PC using the included USB cable.
Verify that the reader icon in the top right corner of the web portal is green (this means CertiScan Connect is running and the reader is successfully plugged in).

The reader icon will be red if CertiScan Connect is not running, and it will be amber if CertiScan Connect is running but the reader cable is not plugged in.
The CertiScan reader does not work on metal surfaces (tables, etc.). If the reader status is green but your packages do not scan, this may be the culprit. Consider putting a book or stack of papers below your reader to elevate it away from the metal.
Workflow Steps
Step 1: Initialize Packages
- Place package against reader scan symbol.
- eCAP: place top-down.
- Med-ic: bring printed symbol on cardboard into contact with reader scan symbol.
- Chirping or beeping noise indicates reader communication.
- Follow the on-screen instructions.
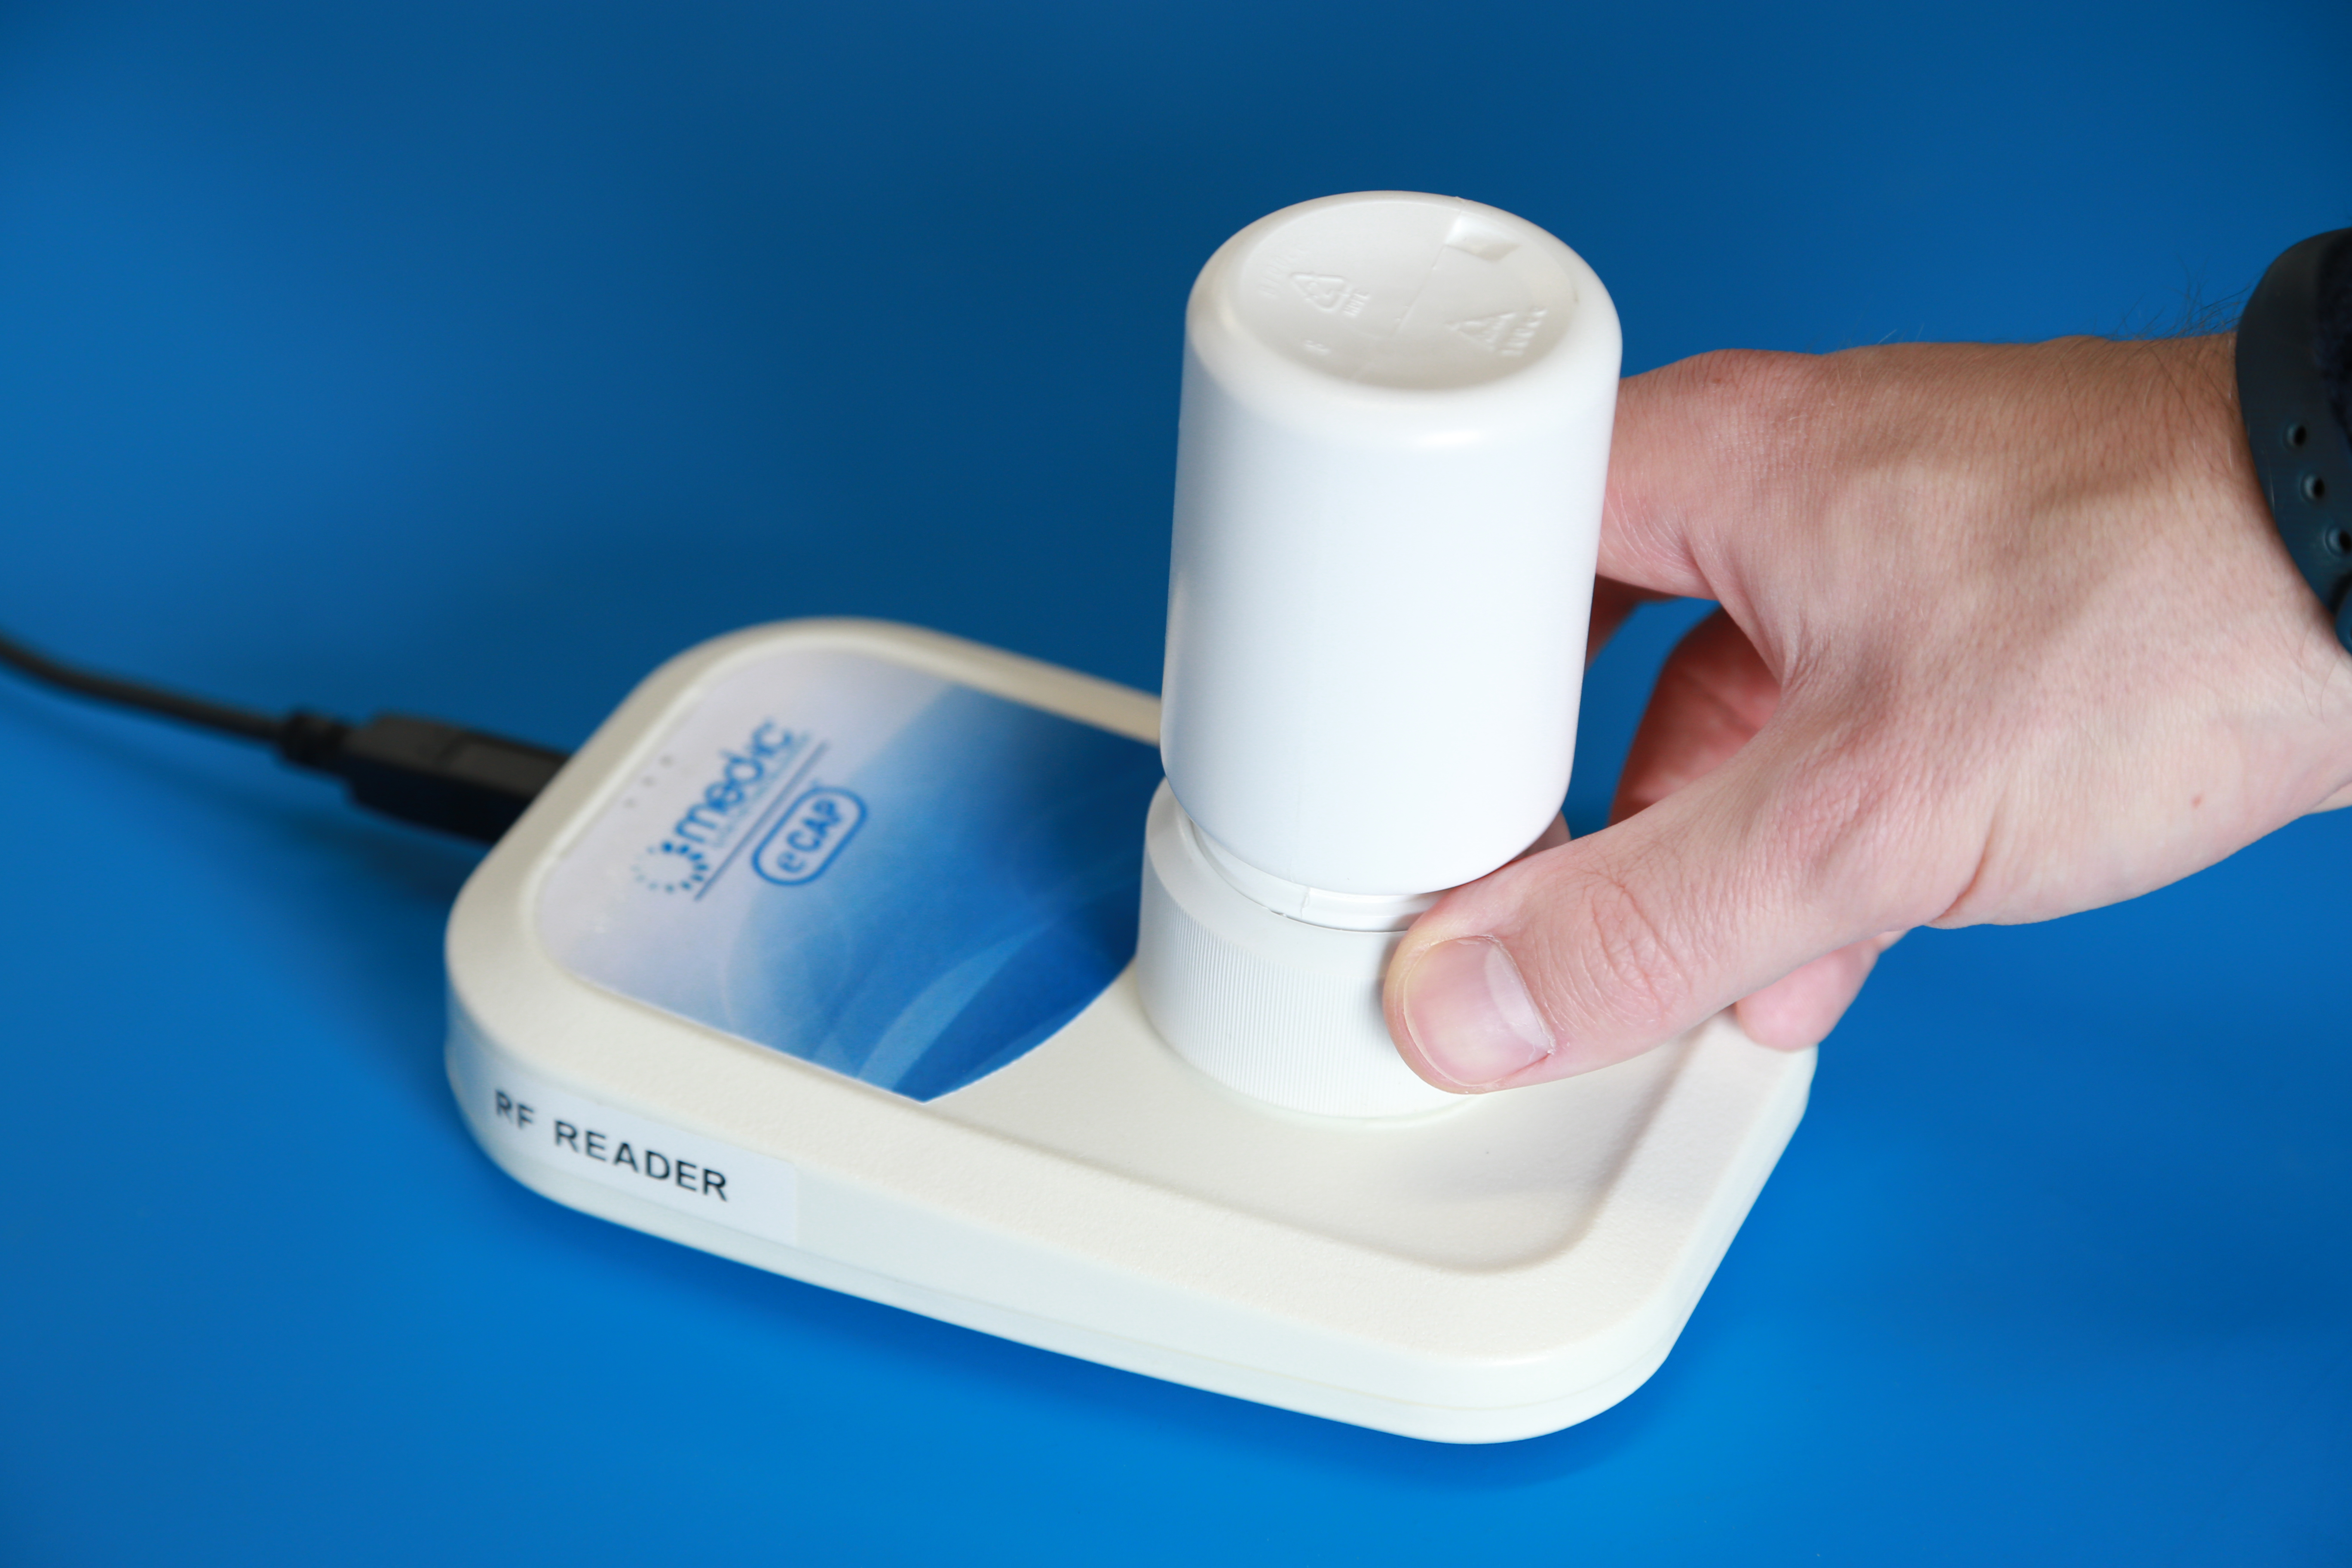
Step 2: Scan a Returned Smart Package
- With the web portal in the foreground, simply place eCAP top-down against the reader scan symbol (for Med-ic, there will be a printed symbol on the cardboard indicating where to scan).
- Chirping noise indicates reader communication, and an on-screen pop-up will appear.
- You will automatically be redirected to the patient details page.
If the smart package is not assigned to a patient:
- The “Assign” pop-up will appear.
- Select the correct patient ID to assign the smart package.
- Click the “Assign” button.
Future scans will go directly to the patient’s profile, and you won’t see this pop-up again.
Other Steps
Set Up Patient App
If your project is using Express Scan or if your project does not involve remote patient monitoring, you can skip this section.
If the patient needs to access the mobile app, they must have an invite code.
- Go to the “Patients” page.
- Find the patient who needs remote access, and click the invite to reveal a printable 1-page instruction sheet for the patient.
- Communicate the invite details to the patient (either the code alone or the whole page).
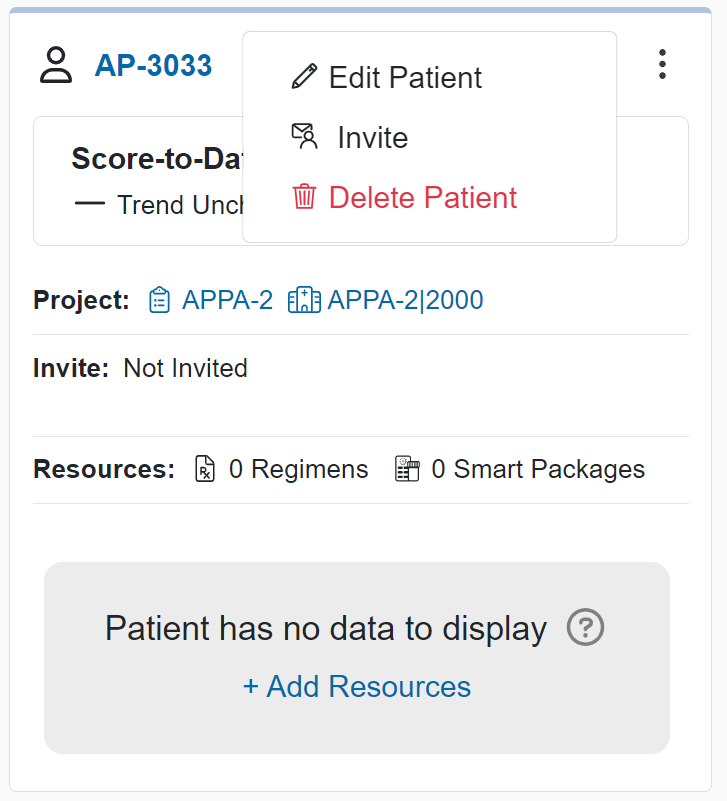
If the invite has expired or was never set up to begin with:
Search for the patient you need to set up.
Click the ellipsis (⋮) in the top right of the patient card and then "Invite" the patient.
Set up Regimen
Regimens add various labels and color layers to the data visualizations. This helps to make adherence more apparent, for the sake of interpretation and coaching.
Search for the patient you need to set up. Drill in to view the patient details page.
Then, click the “+Add Resources” button.
- Select a template.
- Rename the regimen if needed.
- Set regimen dates to match the duration of treatment.
- Start date should be when the patient must take their first dose. By default the start date will auto-fill to the current date.
- Stop date should be the final day of the patient’s treatment. Depending on your project configuration, the stop date may auto-fill to a certain date based on a default regimen duration - otherwise you should set the stop date manually.
- The “Advanced” toggle lets you fine-tune the schedule, but we generally recommend leaving the templated schedule as-is.
Export Data
For an individual patient or for multiple patients.
Individual Patient Export
- Go to that patient’s details page.
- Click “Reports” in the top right corner. Follow the instructions to generate a report.
Multi-Patient Export
Only users with “Project Admin” permission can generate reports for multiple patients. Alternatively, exports can be created for you by emailing: support@informationmediary.com.
- Go to the "Projects" page and click the project you are working in.
- Navigate to the “Reports” option in the project’s navigation panel.
- Generate a new report. Follow the instructions to format the report and select data.
Troubleshooting
Fixing an Incorrectly Assigned Package
If a smart package is assigned to the wrong patient, that package's records will appear on the wrong patient details page, and there won't be any records on the intended patient's page.
To fix an incorrectly assigned package:
- Identify the patient who was incorrectly assigned a package.
- Go to that patient details page.
- In the Patient Setup card, click “Smart Packages” tab, and scroll/page through until you find the incorrectly assigned package.
- Click the package ID link to open the package details.
- In the top-right of the package details, click the ellipsis (⋮) and then click “Re-Assign Package”.
- Follow the instructions to fix the package-patient assignment.
Fix Faster with the CertiScan Reader
Obtain the smart package that you think is incorrectly assigned and needs to be fixed. Then:
- Click the “Reader” button in the top right of the screen to open the Reader Dialog.
- Choose the “Re-Assign” tab and follow the instructions to ensure the package is assigned to the correct patient.
Fixing Medication-Regimen Mismatch
A smart package’s medication must match the patient’s regimen. Otherwise, dose data may not appear properly in the web portal.
Obtain the smart package that you think is mismatched and needs to be fixed. Then:
- Click the “Reader” button in the top right of the screen to open the Reader Dialog.
- Choose the “Set Medications” tab and follow the instructions to ensure the correct medication is set.
- Once you have verified the medication, close the Reader Dialog and go to the patient’s details page.
- Verify the regimen: check that the regimen name, medication types, dates, etc. are all correct.
- If the regimen is incorrect, click on the regimen ellipsis menu (⋮), then “Edit”. Modify the dates and parameters as necessary to correct the regimen.
Modifying a smart package’s medications or a patient’s regimen may change how adherence was calculated for previous doses.